Step 2: 3D Print Your Badge
If you are looking for parts, you need to go to Step 1: Buy Your Badge Parts
Introducing the Darknet-NG 13 Badge Version 1.8.1!
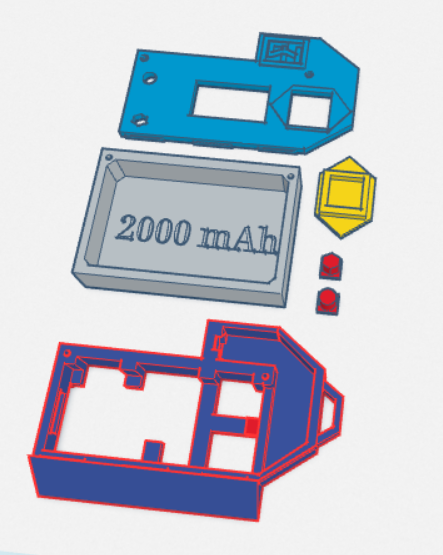
I spent a few hours updating the body of the badge with ya’ll input.
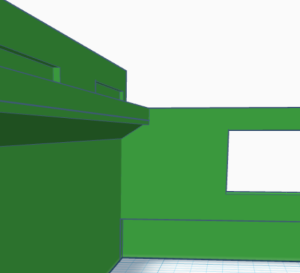
- Badge Body, reinforce Badge Face Lip
- Badge Body Add spacer to hold the Heltec board in place when plugging in USB without blocking the Antenna
- Badge Face Shrunk tabs that plug into badge body
- Badge Face Add Hex Skill Badge hole
STL (3D Print Files) Locations:
Source Files for Modification:
- Tinkercad (Best for Beginners):
- https://www.tinkercad.com/things/0tu8g5LNQmJ-darknet-ng-13-badge-181-public
Darknet-NG 13 Badge Version 1.7.5 (Now Old, Use Version 1.8.1)
Darknet-NG 13 Badge has gone through more than 20+ iterations.
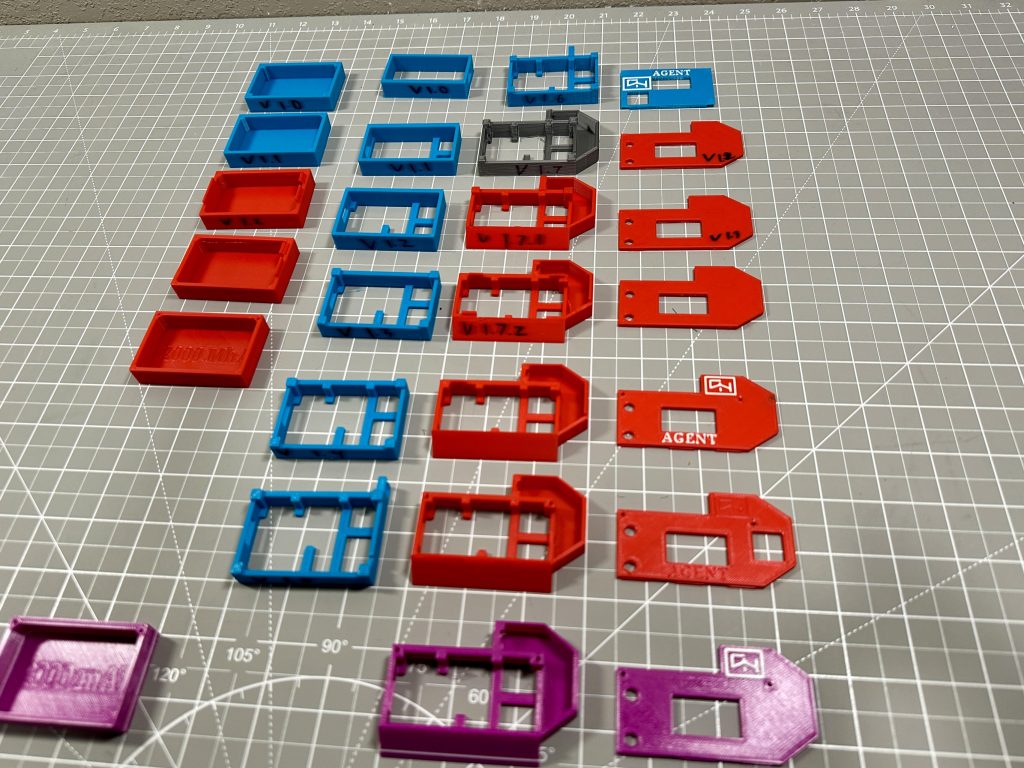
We’re Excited To Release Version 1.7.5 (Now Old, Use Version 1.8.1)
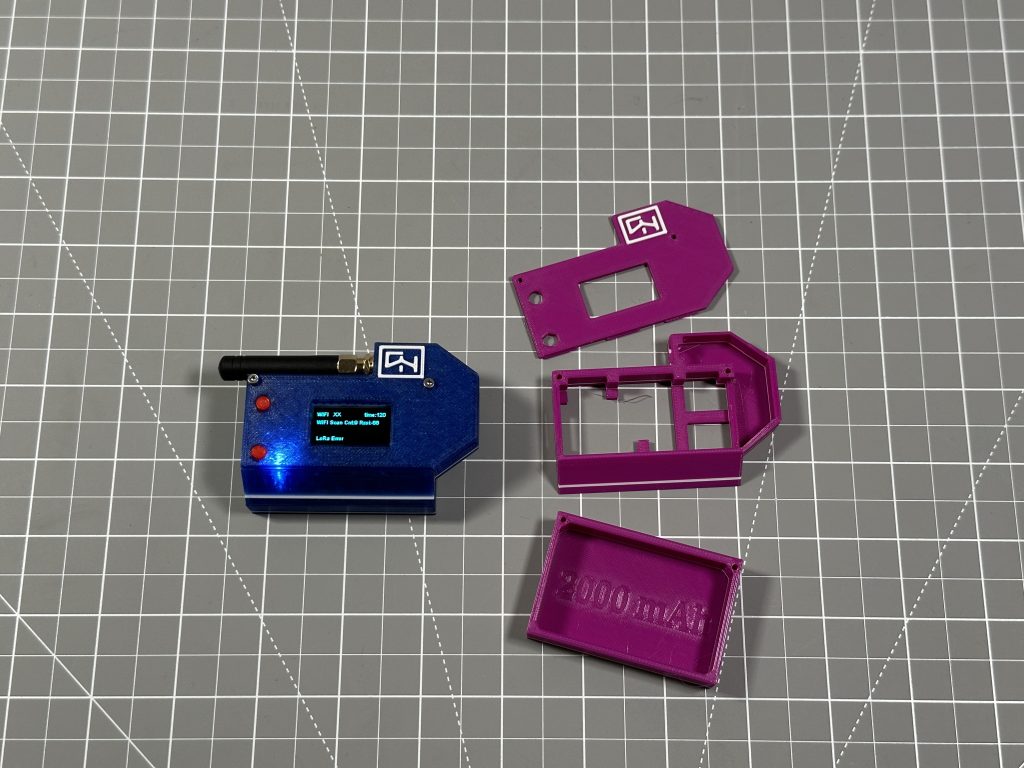
This years badge is built around an Open Source Badge Case Built Around the Heltec WiFi LoRa 32(V3) with SMA antenna and IPEX connector with Meshtastic.
- This is the First Released Iteration of the Darknet-NG badge for DEFCON 32
- This year we wanted a smaller footprint, that we could hook onto our backpacks and EDC bags to use year round.
- This case is meant to be customized per Darknet Agent leading up to DEF CON.
- All the parts screw together with 2 M2 by 25 MM screws
Print Your Own Badge
Access to a 3D Printer:
- If you have access to a 3D printer, you can print your own badge.
No Access to a 3D Printer:
- Visit your local hackerspace, makerspace, DEF CON group, or library.
- If there’s no local option, you can use online printing services.
Open Source Designs
We’re open sourcing the badge designs to encourage modifications and customization.
STL (3D Print Files) Locations:
- GitHub: https://github.com/darknet-ng/Darknet-NG-13-Badge (Now Old, Use Version 1.8.1 as linked above)
- Thingiverse: https://www.thingiverse.com/thing:6696653(Now Old, Use Version 1.8.1 as linked above)
- Printables: https://www.printables.com/model/943540-darknet-ng-13-badge (Now Old, Use Version 1.8.1 as linked above)
Get Creative!
We encourage you to modify, fork, and customize the badge.
Idea’s For Parts To Customize
- Add An Agent Name
- Add Loop To Add A Lanyard
- Add Belt Loop
- Add Groves for Pagerlike Case
- Add Molle Belt Loop
- Add Mechanical Keyboard Key
- Change Battery Size From 2000 mAh
To help you get started with 3D printing, we’re sharing the source files for modification.
Source Files for Modification:
- Tinkercad (Best for Beginners):
- Full Badge Project (Now Old, Use Version 1.8.1 as linked above)
Other programs you can use for customization include AutoCAD, Blender, Fusion 360, and OpenCAD.
Setting for Printing
- I printed this on a Prusa MK3S+
- I’d Suggest printing this all in PETG as it will be more outdoor resistant.
- Supports: Support on build plate only.
- This year there is very little cleanup or support needed!
- There are 2 holes
- USB Plug
- Radio Antenna
- I have not had an issue with sagging.
Show Off Your Work!
We want to see your prototypes and designs!
Share Your Designs:
- On Twitter and Mastodon, use the hashtags #darknetng and #badge.
- Join our Discord and post pictures in the #badge-info channel.
Contests
There will be contests for:
- Best design
- Most creative design
- Most functional design
Video Walkthroughs
We’ll post video walk through on our YouTube channel this following week!
Let’s get printing and show off your amazing Darknet-NG 13 Badges!
If you’d like to donate to keep Darknet-NG online, please use this link to donate to OSSEM HOLON, a 501(c)(3) nonprofit. Thank you!
0 Comments